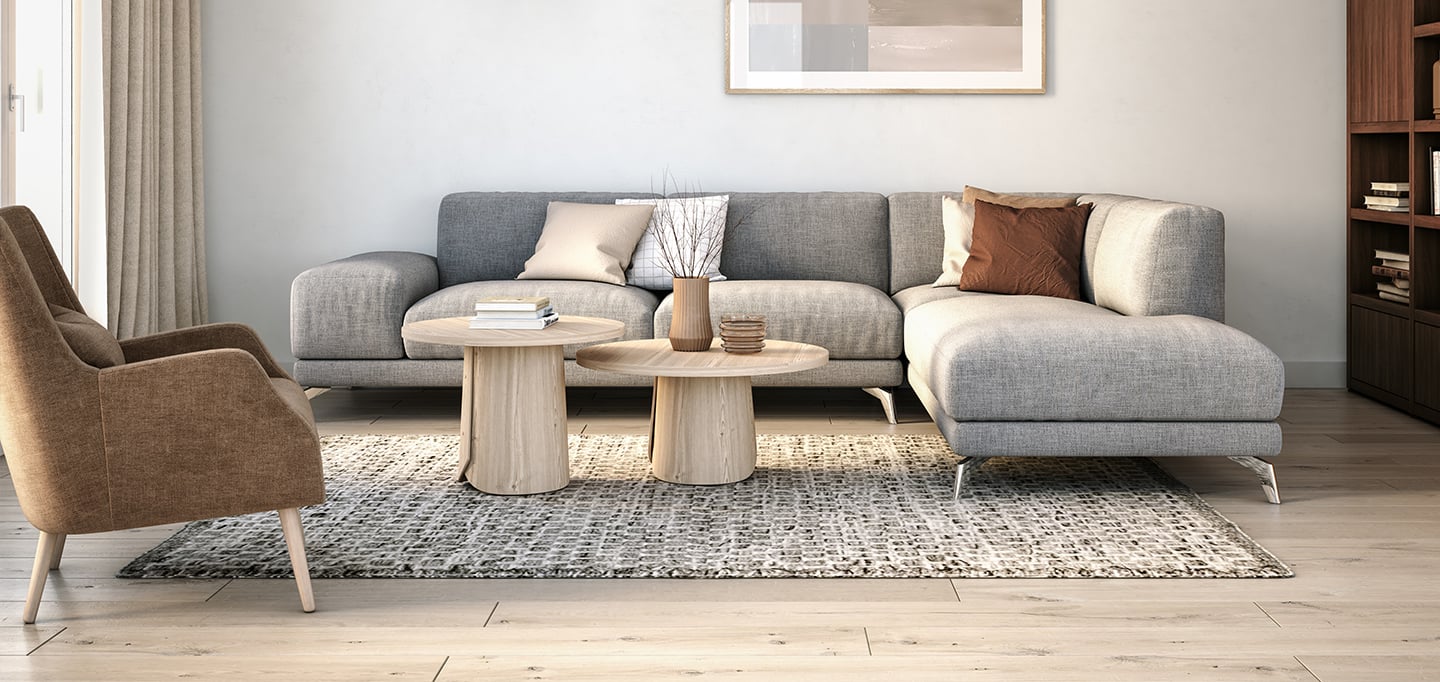
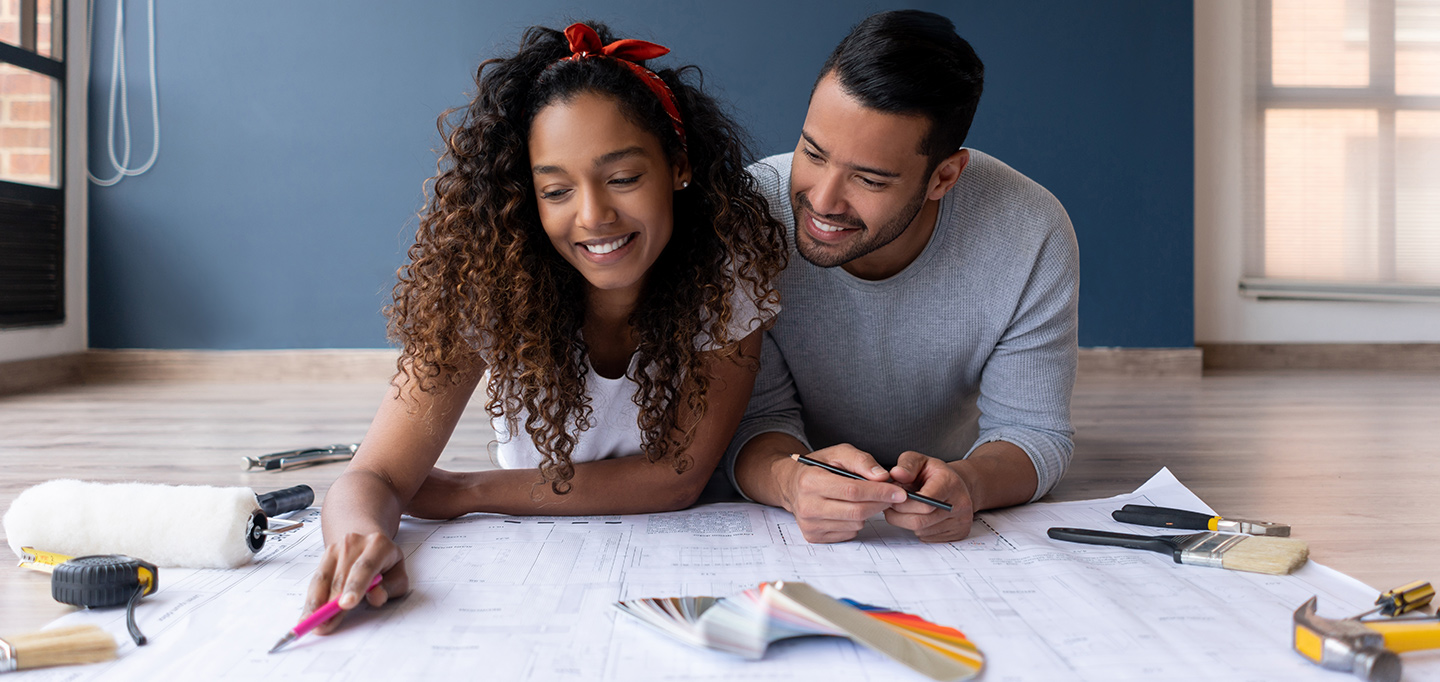
Hardwood flooring adds a bit of sophistication to any home. It’s low maintenance, easy to care for, and will last for years. But it’s expensive. Luckily, if you’re up for a DIY project, you can install your own hardwood flooring. Here’s how.
First Things First
Start by gathering your tools, which should include:
- Harwood flooring pieces
- Floor molding
- Vapor barrier paper
- Drill and drill bits
- Hammer and nails
- Circular saw
- Pneumatic flooring nailer
- Pry bar
- Tape measure
- Utility knife
- Wood glue
- Work gloves, safety glasses, mask, and knee pads
Installing Your Flooring
Step 1: Measure the room
Measure the width and the length of your room, and then multiply these numbers to find the square footage. Purchase the flooring you want, with a little extra to allow for any mistakes or irregular boards you may get.
Step 2: Check your existing floor
Before you start laying down the new floor, you want to check the subfloor, the structural layer on the very bottom. Make sure there is no squeakiness or other issues with the subfloor before you begin laying down anything new. Also, sweep and clean your subfloor of any debris.
Step 3: Lay down the vapor barrier paper
Roll out the sheets, with about 4 inches of overlap, and staple them to the subfloor. The barrier paper will prevent any moisture from the structure or subfloor from getting to your hardwood flooring.
Step 4: Start installing your flooring
Start at the longest wall and start laying your flooring about 3/8” from the baseboard. Wood does expand and contract with weather changes, so you want to allow a bit of room. The pneumatic nailer will be hard to use against the wall, so hand nail the first few planks.
Continue on with the second row, making sure you pay attention to the tongue and groove for each plank, locking them in place. Use a soft mallet to gently tap them to ensure a tight lock. Stagger your ends a bit, about 6 inches between boards, to create a stronger locked pattern.
Blind nail your second row through the tongue and continue laying your planks in rows until you are far enough from the wall to use the pneumatic nailer, about 2 to 4 rows in, depending on the width of your planks.
Step 5: Finishing the flooring
When you get to the last rows, go back to hand nailing. On the very last row, you may have to cut your pieces to fill the gaps. Make sure to leave a little room for expansion.
Caring for your Hardwood Floor
After spending the time to carefully install your floor, make sure you take the time to care for it. To do this, regularly remove dirt using a dust mop, broom, or vacuum. Avoid using a beater bar attachment on your vacuum as this can damage your wood flooring.
Use a liquid cleaner for a deeper clean. Light mopping and dusting is great for weekly cleaning, but for dirt that has built up over time, turn to a liquid wood cleaner. After you’re done mopping, wipe up any excess liquid to prevent possible water damage.
Hardwood flooring is a beautiful addition to any home, but it can be costly. Luckily, installing your own wood flooring isn’t all that difficult. Figure out what type of wood suits your style, gather your supplies, and follow these steps for DIY hardwood flooring success.
The views and opinions expressed in this article are those of the author and do not necessarily reflect the official policy or position of Altisource Online Auction, Inc., Altisource® or any Altisource affiliate. The foregoing content is not intended to constitute, and in fact does not constitute, financial, investment, tax or legal advice by the author, Altisource Online Auction, Inc., Altisource or any Altisource affiliate.
You might also like